An official website of the United States government.

How to Import an Excel File
You can import an Excel file to submit a bulk query, bulk enrollment, and update your subject database.
Prepare your file
- Download the attached Excel file (XLSX - 23 KB). The file contains the following:
- Sample Excel spreadsheet - A spreadsheet to use as a template for your practitioner records
- Field of Licensure - List of codes for the practitioner's profession or field of licensure
- Specialty - List of codes for a physician or dentist specialty
- State Abbreviations - Two-letter codes for a state, territory, or military location
- Sex - Codes for the practitioner's sex
- Type of Organization - Codes for the type of organization.
- Transaction Type - Codes for the type of transaction you are submitting, an addition, deletion or update.
- Enter your subject information into the spreadsheet. Save your file with a .xlsx extension. The Excel file extensions .csv and .xls are not accepted.
Use your file
Submit a bulk query or bulk enrollment
- Sign into the NPDB.
- From the Select an Option page, select Query ,
then select Import File for Query or Enrollment.
Select an Option
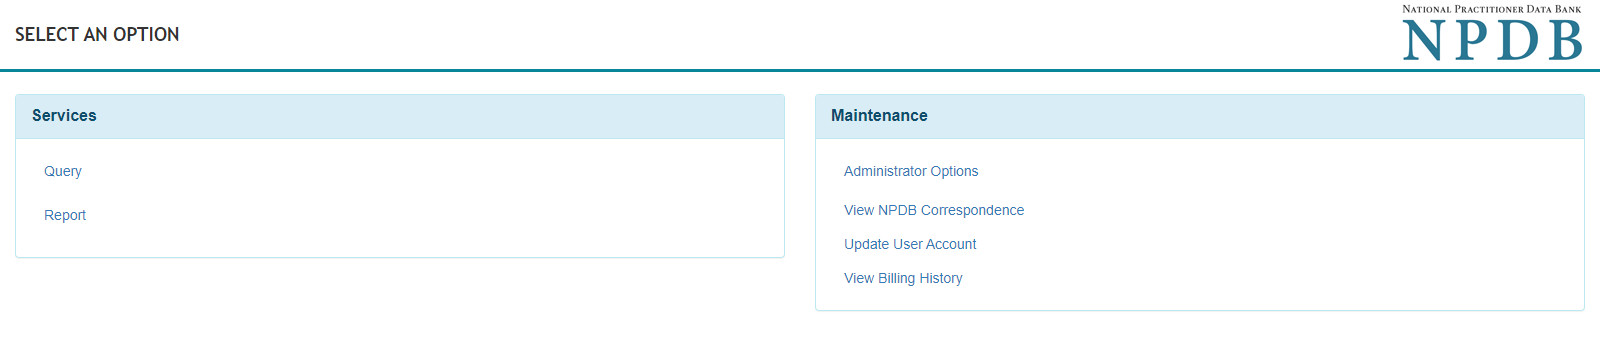
Query
- On the Import Subject Information page, select the Excel import format.
Import Subject Information
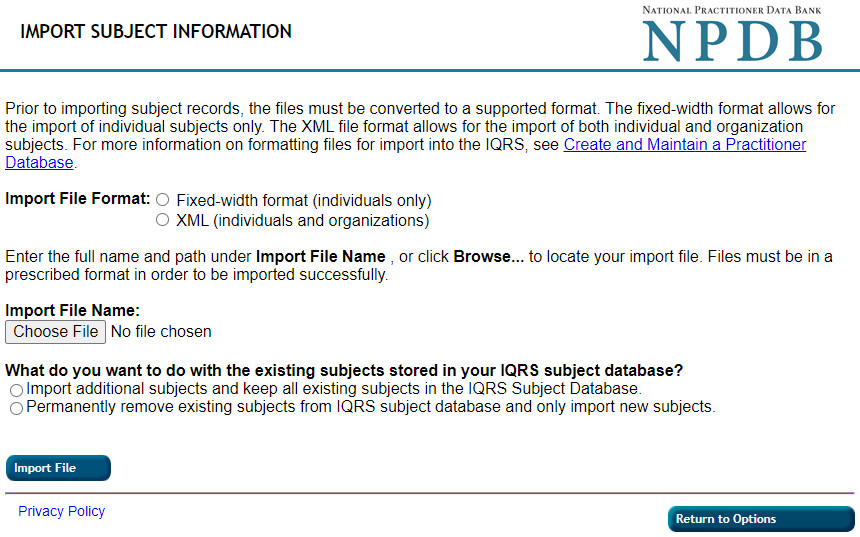
- Select the Choose File button, then select your Excel file to import.
Note: Your file must be saved with a .XLSX extension. - Select an option for your existing subjects. You can keep the existing subjects and add new subjects or delete the existing subjects and add the new ones.
- Select Import File.
- Review the results on the Import Summary page, then choose an option for the complete subjects.
- Enroll the subjects in Continuous Query
- Order a One-Time Query response for subjects
- Return to Query Options.
- Select Continue to process your selection.
Update subject database records
- Sign in to the NPDB.
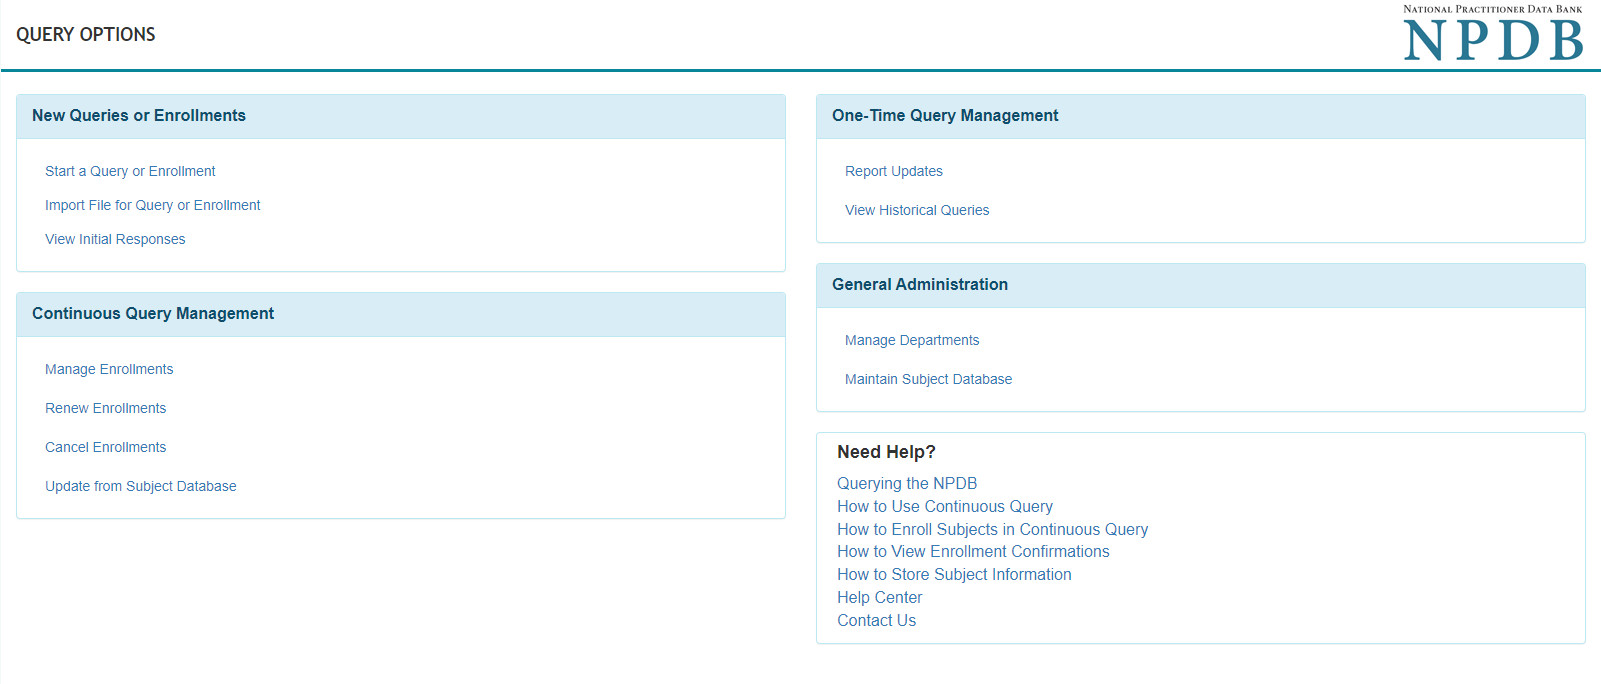
- From the Select an Option page, select Query , then select Maintain Subject Database .
Select an Option
Query
Maintain Subject Database
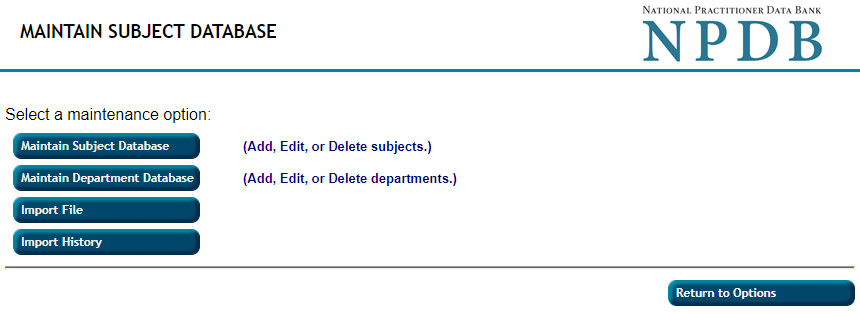
- Select Import File. The Import Subject Information page appears. Follow the online instructions.
Note: Your file must be saved with a .XLSX extension.Import Subject Information
- A confirmation is displayed if your file is successfully imported.